
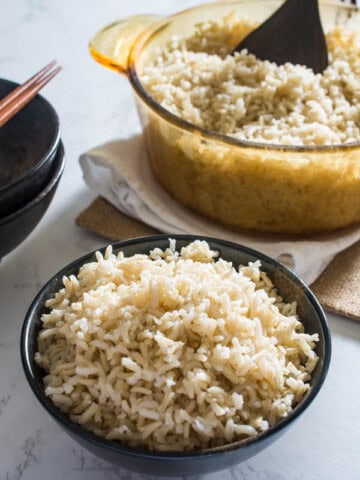
No rice cooker? No problem. In this post, I’ll show you two easy ways to cook rice - on the stovetop or steamed in a wok. Perfect rice with consistent results every time.

While having an electric rice cooker is super convenient, you really don’t need one to make great rice at home. In fact, cooking rice on the stovetop or steaming it in a wok is surprisingly simple. Some even find it more practical since it’s one less kitchen appliance to manage.
My Mum doesn’t even own a rice cooker. She’s always cooked rice on the stovetop and never saw the need for one. As for me, I do use my rice cooker often for the convenience, especially when making dishes like Rice Cooker Hainanese Chicken Rice or Rice Cooker Claypot Chicken Rice.
It also comes in handy when I’m juggling multiple dishes, as my husband or kids can help get the rice going while I focus on the rest of the dishes I'm preparing for dinner.
In this post, I’ll walk you through two simple methods:
- Cooking rice on the stovetop using a pot
- Steaming rice in a wok using a heatproof bowl and a rack
Both work well with white rice. If you’re looking to cook brown rice, click here for my stovetop tutorial.
For the stovetop method, the key is using a pot with a heavy base that retains heat well. I use a Visions cookware pot or a Corningware Covered Casserole so I can see through the glass, but any sturdy pot with a lid will do.
If you're using a standard measuring cup, 1 cup of uncooked rice makes about 3 cups cooked. (The cup that comes with most rice cookers is a bit smaller at about ¾ of a regular measuring cup.)
How to cook rice on your stovetop
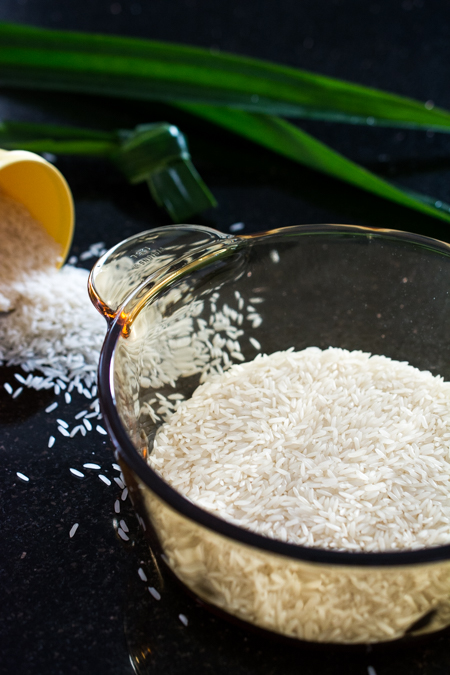
1. Pour 2 cups of uncooked white rice into a pot with a heavy base.
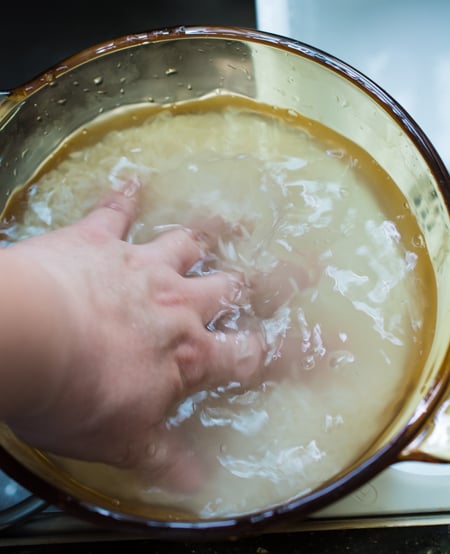
2. Fill the pot with just enough water to cover the rice, then run your fingers through the rice. Swirl the rice around in the pot to help loosen the starch.
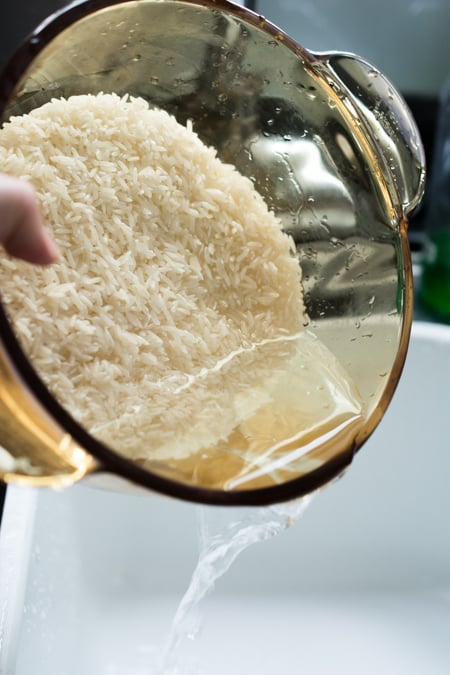
3. Drain as much of the water as possible. Pour the water out slowly to avoid pouring the rice out along with it. Repeat 3 to 4 times or until the water is less murky.
4. Fill the pot with 3 cups of fresh water.
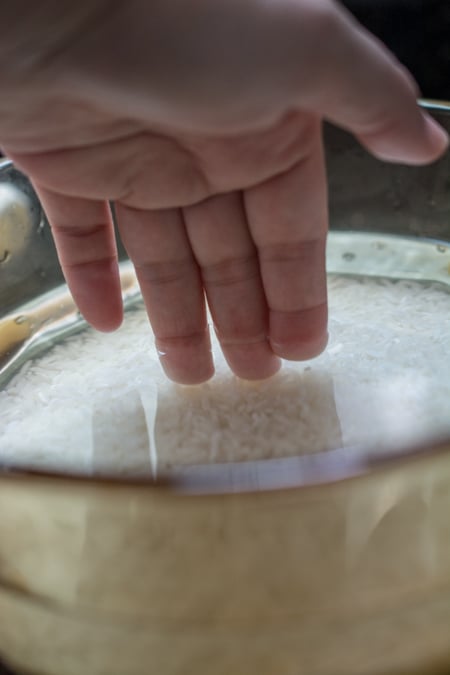
Alternatively, here's a more traditional way to measure the water needed to cook your rice (no measuring cup needed):
Place your middle or index finger right over the top of your rice. Your fingertip should barely be touching the rice. The water level should be right around the first crease line on your finger, where your first knuckle is. I have really small hands, so I make sure that it's about 2mm or so above the crease on my finger.
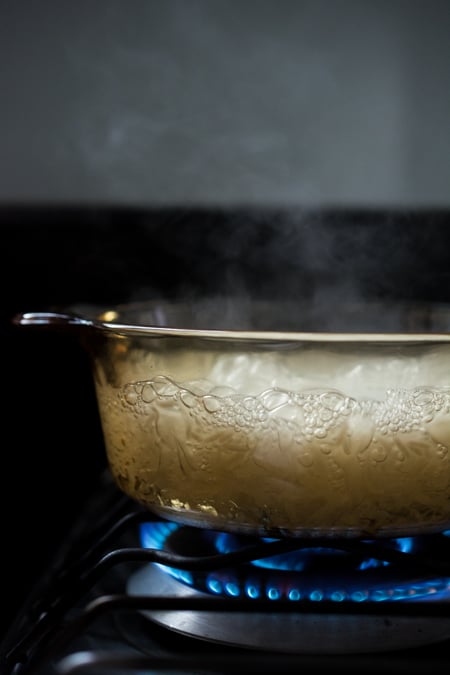
5. Place the pot on your stovetop over medium-high heat and allow it to boil uncovered.
Continue to keep an eye on your pot as it boils; don't walk away. If you find that medium-high heat is too high and it is boiling too rapidly, turn down the heat to prevent burning.
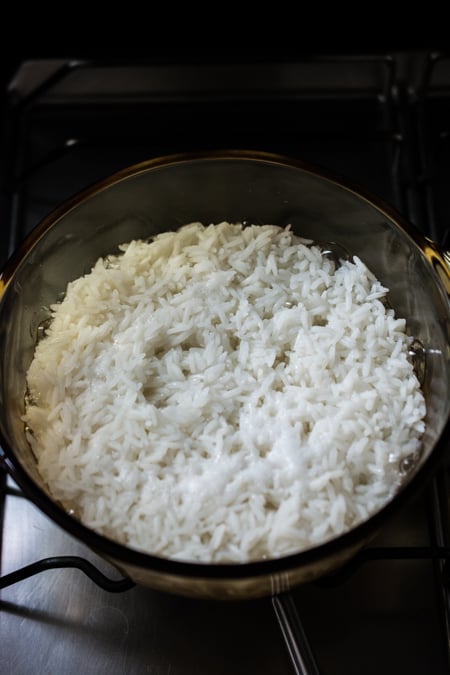
6. After a while, most of the water would have been absorbed by the rice or evaporated. When you can see that the water has absorbed just past the surface of the rice (as shown in the picture below) and little "craters" have formed on the rice surface, place the lid on the pot.
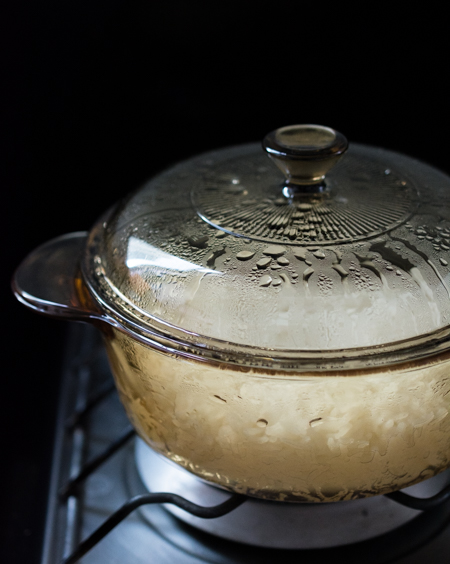
7. Allow it to boil with the lid on for about 10 - 20 seconds or so, then TURN OFF THE HEAT. Leave the lid on to allow the rice to cook. NO PEEKING!!
The rice will be done in about 15 minutes.
What I usually do is boil the rice when I'm about to start cooking the rest of my dishes. As soon as I turn the heat off for the rice, I just leave it covered until I'm just about ready to serve, and I keep preparing the rest of the meal. I don't have to set a timer to remind myself to take the rice off the stove. I just leave it there until I'm ready.
8. When the rice is fully cooked, use a pair of chopsticks or a rice paddle to "fluff up" the rice. This step gives the rice a nice, "fluffy" texture.
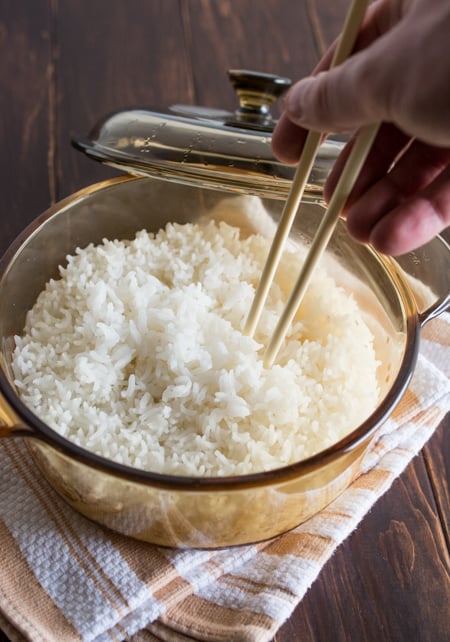
That's all there is to it. Perfectly cooked rice every time!
Would you like to save this?
Steaming Rice in Your Work
First, I’d like to clarify that this method does not involve cooking the rice directly on the wok's surface. We’re using the wok as a steamer instead. You’ll place a heatproof bowl of rice and water on a rack inside the wok, with water in the base to create steam.
Why I Don’t Recommend Cooking Rice Directly in a Wok
While it is technically possible to cook the rice on the surface of the wok, I would not recommend it. Most carbon steel woks are too thin to retain steady heat the way rice needs in order to cook properly. Unless you’re using a heavy-bottomed cast-iron wok, the heat distribution just isn’t consistent enough.
Also, cooking the rice on the wok’s surface directly means that all of that wok hei seasoning and flavors will infuse into the rice, which is probably not what you want for plain steamed white rice.
And then there’s the cleanup. Rice will almost certainly stick to the surface, and to get it off, you’ll need to soak the wok. Soaking and scrubbing can damage the seasoning layer you've worked so hard to develop, which defeats the purpose of using a seasoned wok in the first place.
Instead, using your wok as a steamer gives you perfectly cooked rice without the mess, and without ruining your wok.
How to Steam Rice in a Wok
This method is ideal when you don’t have a rice cooker, or if your usual pots don’t have a tight-fitting lid.
- Rinse 2 cups of white uncooked rice under tap water until the water runs mostly clear. Drain as much water as possible. Alternatively, use a sieve to rinse the rice.

2. Transfer the rinsed rice to a heatproof bowl. Make sure this bowl fits comfortably inside your wok.
3. Add 3 cups of water to the rice.
4. Place a steaming rack or trivet inside your wok, then pour about 2 inches of water into the bottom of the wok.
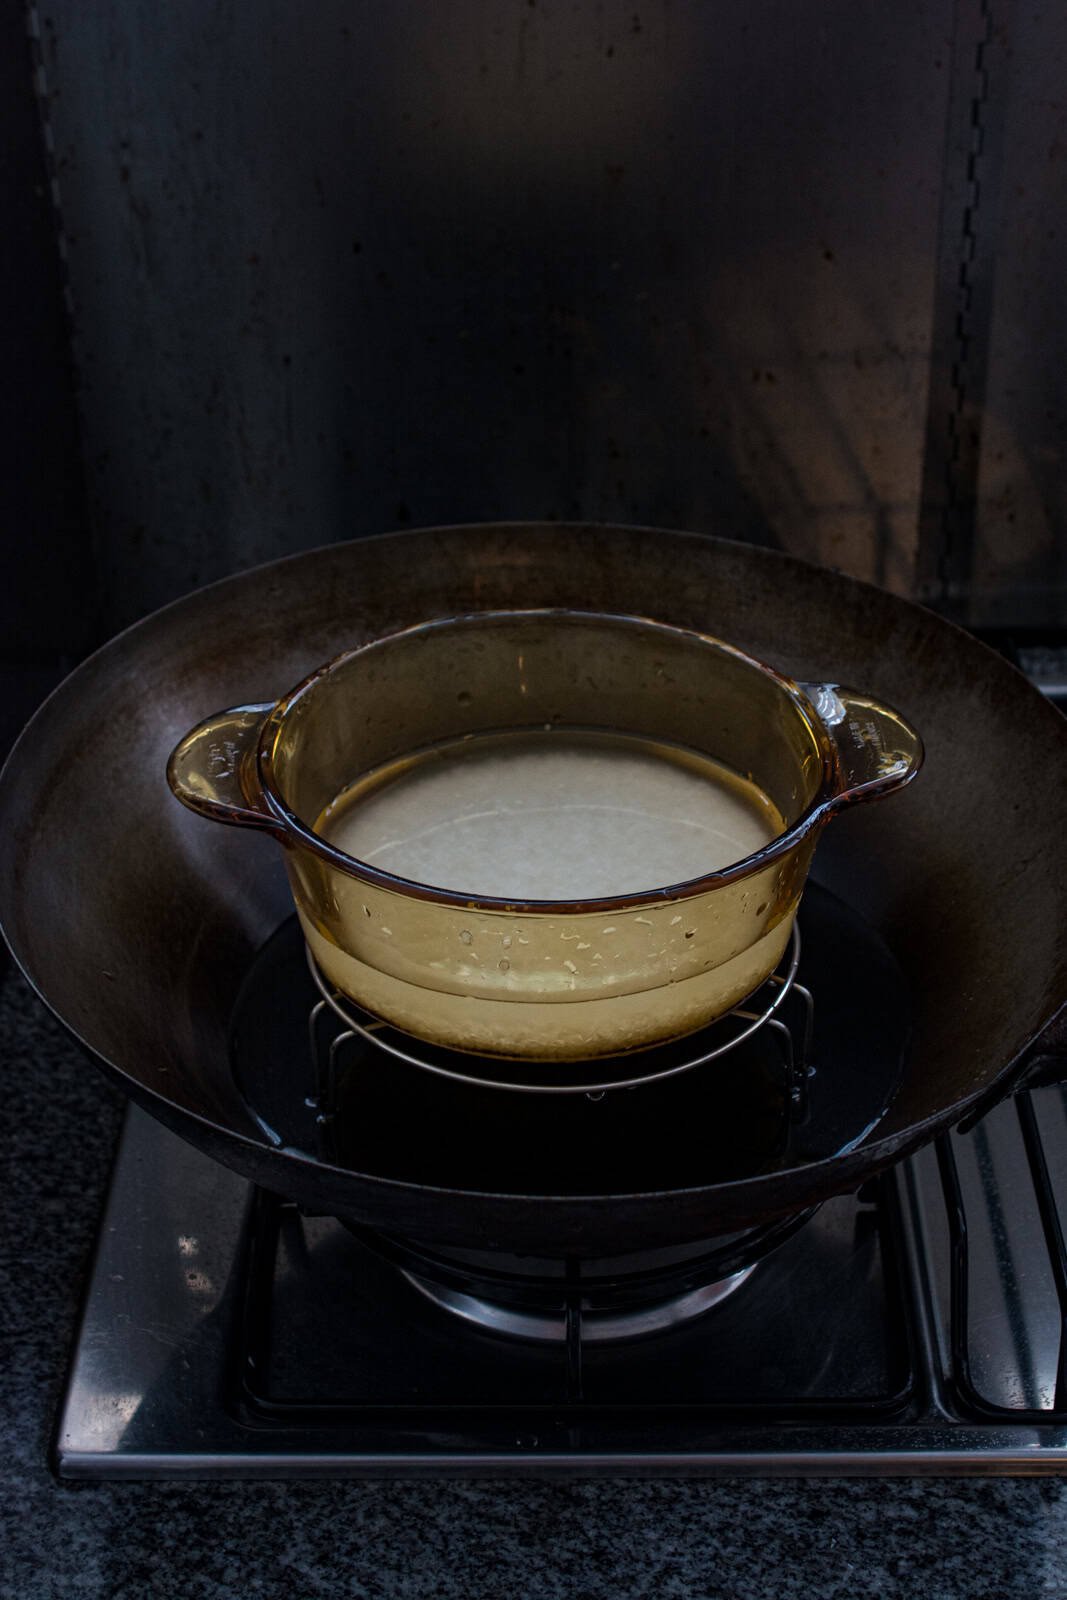
5. Set your bowl on the rack, then cover the wok with a tight-fitting lid. You don’t need to cover the bowl with the rice; just cover the wok itself with a tight-fitting lid to trap the steam.
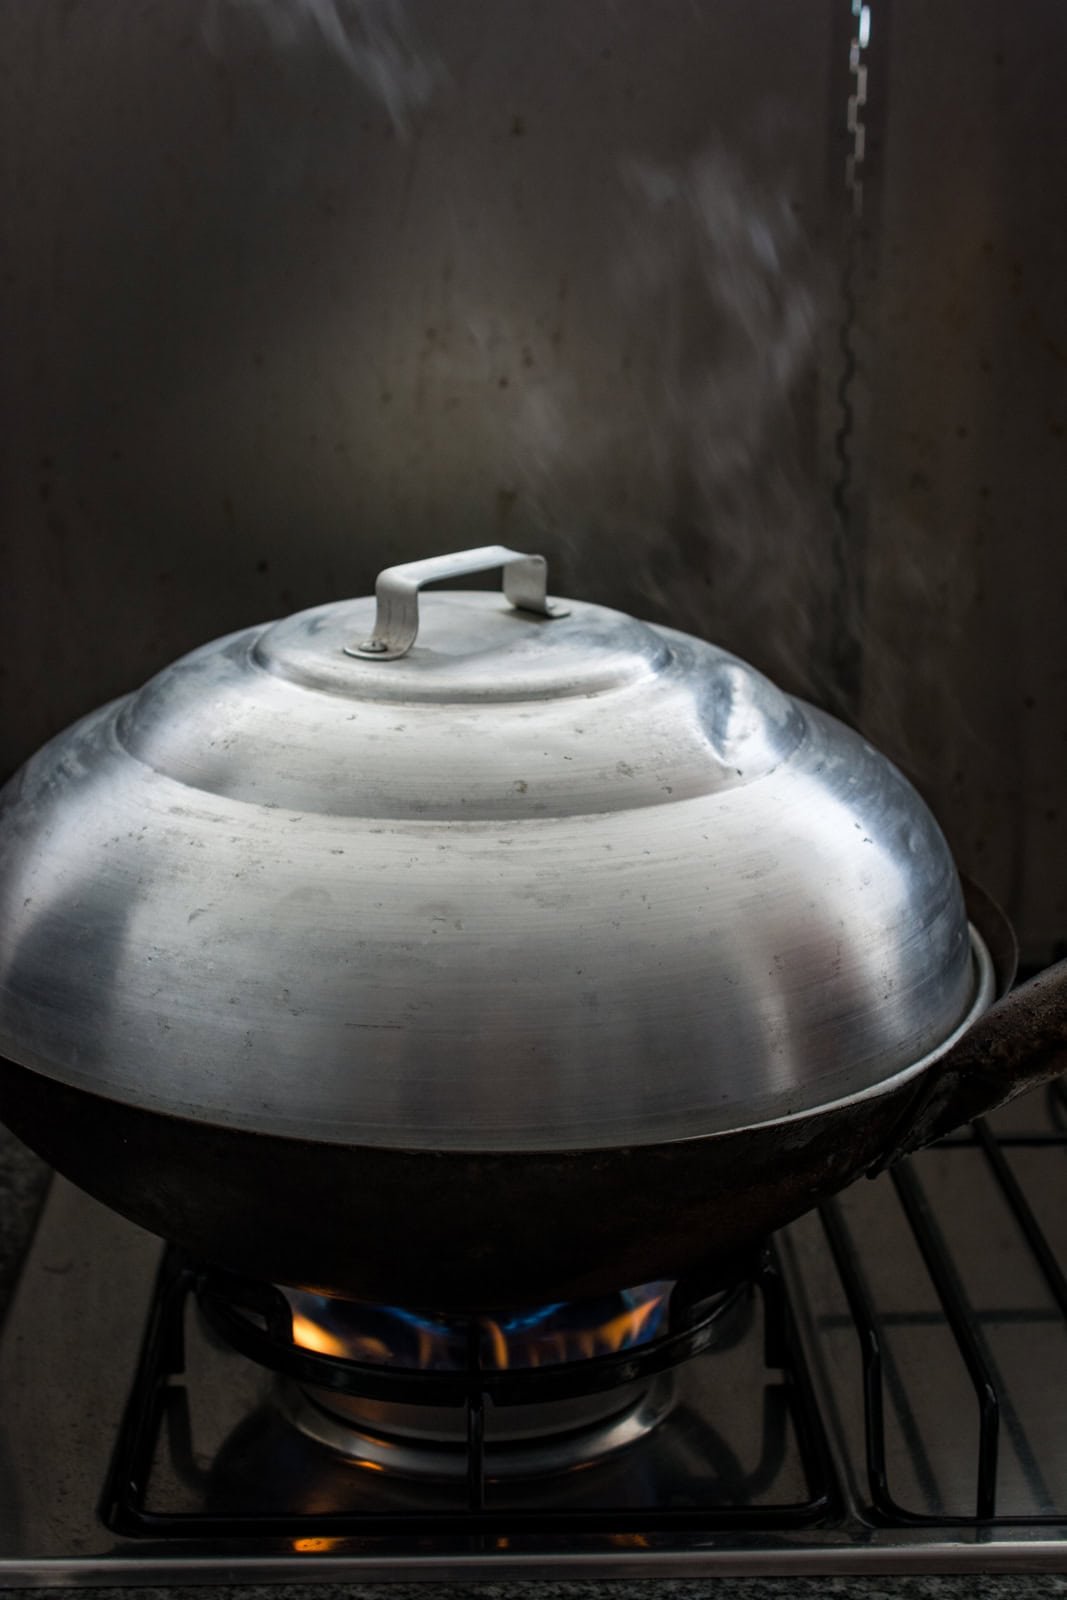
6. Bring the water in the wok to a gentle boil over high heat, then reduce the heat to low to maintain a steady simmer. Steam the rice for 30 minutes.
7. If the water in the bottom of the wok runs low, top it up as needed.
8. Once the rice is done, turn off the heat and let it rest (covered), for 5 minutes.
9. Fluff the rice with a pair of chopsticks or rice paddle before serving.

Frequently Asked Questions
This post covers white rice specifically, but if you're cooking brown rice, check out my stovetop brown rice tutorial. Brown rice takes longer to cook and uses a different water ratio.
Not for white rice. Just a quick rinse is enough. Soaking is more common with brown rice and other whole grains.
Use a pot with a heavy base that retains heat well. I love using my Visions glass pot or a Corningware casserole dish. Any sturdy heat-proof pot will work.
Technically, yes, but I don’t recommend it. Most carbon steel woks are too thin to hold steady heat to properly cook the rice, and rice will stick to the surface, making cleanup a hassle. It also strips away that beautiful wok hei seasoning you've built up over time.
Nope! You don’t need to cover the bowl itself. Just cover the wok with a lid to trap the steam inside.
If the rice is still a little undercooked or too firm, just add a splash of hot water (about 2 - 3 tablespoons), cover it again, and steam it for another 5 to 10 minutes. Let it rest covered for a few minutes after steaming; it often finishes cooking during that resting time.
If your rice turns out overcooked or mushy, it likely had a bit too much water or steamed for too long. Let it sit uncovered for a few minutes so the excess moisture can evaporate. You can also spread it out on a plate or tray to help it dry out slightly. And if it’s way too soft, save it for rice porridge, or turn it into rice cakes later.

How to Cook Rice Without a Rice Cooker
Ingredients
- 2 cups rice uncooked
- 3 cups water plus more for rinsing
Instructions
Stovetop Method
- Rinse 2 cups of uncooked rice under cold water until the water runs mostly clear.
- Drain the water, then repeat the rinsing process 3–4 times until the water is less cloudy.
- Add 3 cups of fresh water to the rinsed rice. Optional method: Place your fingertip just touching the surface of the rice. The water level should reach the first crease of your finger.
- Place the pot over medium-high heat and bring to a boil uncovered.
- Once most of the water has been absorbed and small craters form on the rice surface, cover the pot with a lid.
- Let it boil for 10–20 seconds with the lid on, then turn off the heat. Leave the lid on to steam the rice. No peeking!
- After about 15 minutes, fluff the rice with chopsticks or a rice paddle.
Wok Steaming Method
- Rinse 2 cups of uncooked rice under cold water until the water runs mostly clear. Drain well.
- Transfer the rinsed rice to a heatproof bowl that fits comfortably inside your wok.
- Add 3 cups of water to the bowl.
- Place a steaming rack or trivet in your wok, then pour about 2 inches of water into the bottom of the wok.
- Set the bowl of rice on the rack. You don’t need to cover the bowl. Just cover the wok with a tight-fitting lid.
- Bring the wok water to a gentle boil over high heat, then reduce to low to maintain a steady simmer.
- Steam the rice for 25–30 minutes. Top up the wok with water if needed.
- Turn off the heat and let the rice rest (still covered) for 5 minutes.
- Fluff the rice with chopsticks or a rice paddle before serving.

Soda says
I followed this method. I also use a glass visions pot. My rice burnt quite a lot on the bottom. Does yours burn?
Char says
Hi Soda, Sorry to hear that! No, it should not burn. Try turning down the heat to see if that helps. Feel free to email me if you still encounter this issue and we can troubleshoot more together.
Holly says
I tried to to cook rice in a vision pot and it burned the pot so bad. Can't even scruff off the burn no matter what I tried. Now I just destroyed an expensive pot. Have to throw away the pot.
Char says
Hi Holly..Oh dear..sorry to hear that! Hopefully you won't have to throw the pot away. Try soaking it with warm water and baking soda. that usually helps for me if I get burns on my pot.
Kee says
Hi. I’m attempting (soon) to cook Thai rice in a Visions cookware but I’m a little hesitant because I don’t know much about cookware made of heavy glass. I’m asking about the rice and water ratio prior to cooking the rice. It seems from your description that it’s one cup of rice to 1 1/2 (same) cup of water? Or I don’t need to use this cup + extra water measurement and directly use the “fingers measurement” - but this latter measurement may use less water…I have yet to experiment this.
In the long term, I hope to use a Visions pot as a claypot but for now, I will learn first how to cook rice in a Vision pot. Have you tried using a Visions pot as a claypot? I really like to know if you have.?
Char says
Hi Kee! Yes, you can use either method to measure the water. You are correct - it's best to experiment with it as these measurements are just a rough guide. It will depend on the type of rice you are cooking and how fluffy/sticky you prefer your rice. For example, when I cook calrose rice, I add just a touch more water compared to when I'm cooking jasmine rice. After a few times experimenting, you will know your exact ratio for your perfect rice.
I have not personally used a Visions pot as a claypot. I imagine it would have some minor differences but it should work! You got me curious so I did a quick search and came across this interesting article: https://bestcookingsets.com/ceramic-vs-clay-pot-for-cooking/ (visions is glass-ceramic so it's very similar to the ceramic pot described in the article)
Mark says
I just tried this method and it came out perfectly. I used an enameled cast iron saucepan. No burnt rice on the bottom.
Char says
Awesome, Mark!! 🙂