

Love Thai Tea? Now you can enjoy it as a creamy homemade ice cream! Easy to make and absolutely irresistible!
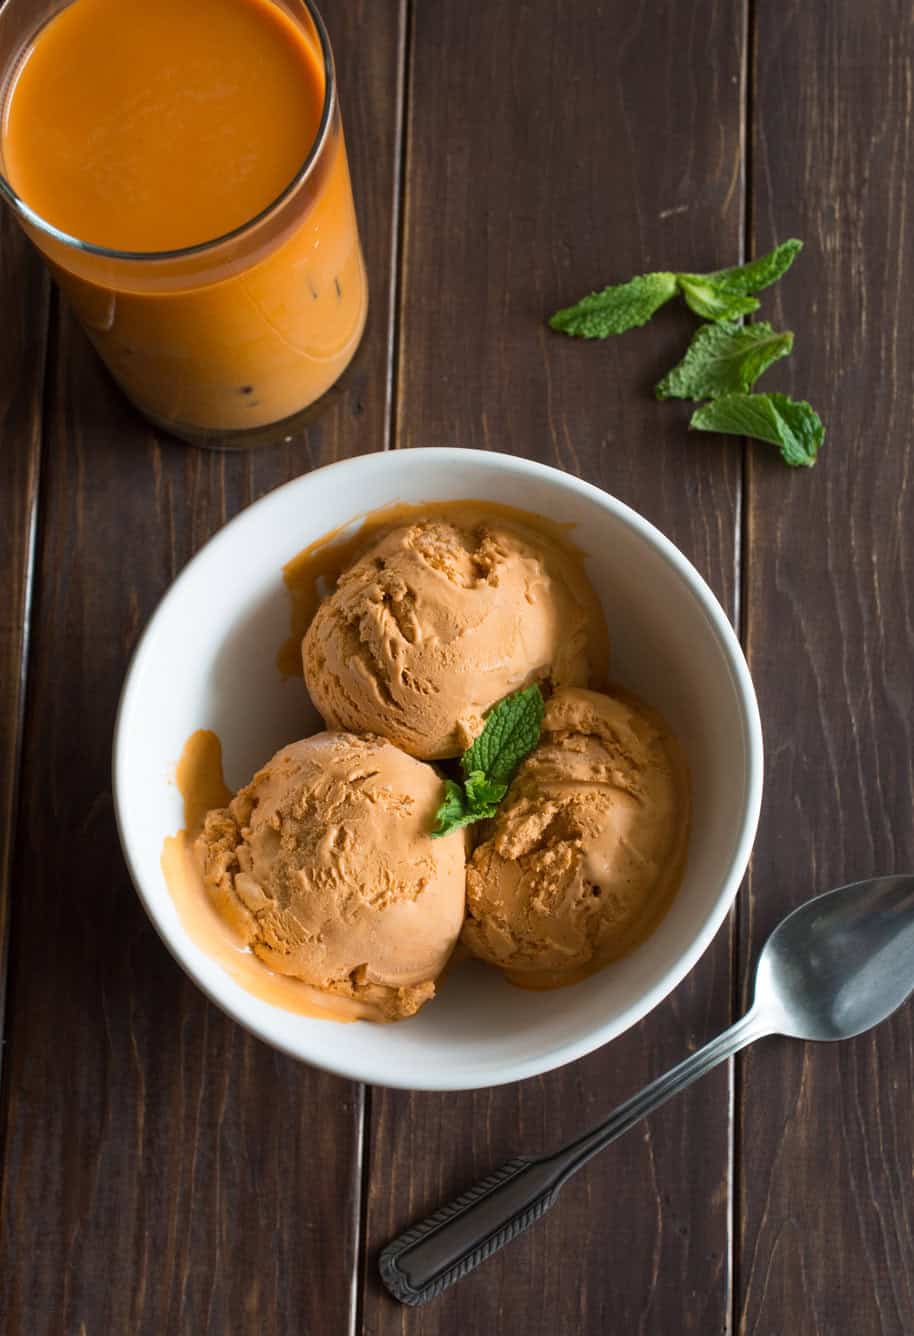
If you love Thai Iced Tea, you’ve GOT to try it as ice cream! This homemade Thai tea ice cream is so silky, rich, creamy, and packed with that bold Thai tea flavor.
It’s the perfect dessert after a spicy meal (or any meal, really!) and it’s easier than you think! I use my KitchenAid Ice Cream Maker Attachment (best thing ever!!!), but any ice cream maker will work just fine!
For the Thai Tea mix, the two brands that I highly recommend are Pantai Norasingh and ChaTraMue. These are the brands that most Thai restaurants use.
I made this recently for the first time in a while, and my son couldn't believe how much it actually tastes like Thai iced tea. He was too young to remember the last time I made it, so he was expecting a milder flavor but nope, it's the real deal in ice cream form!
How to Make Thai Tea Ice Cream
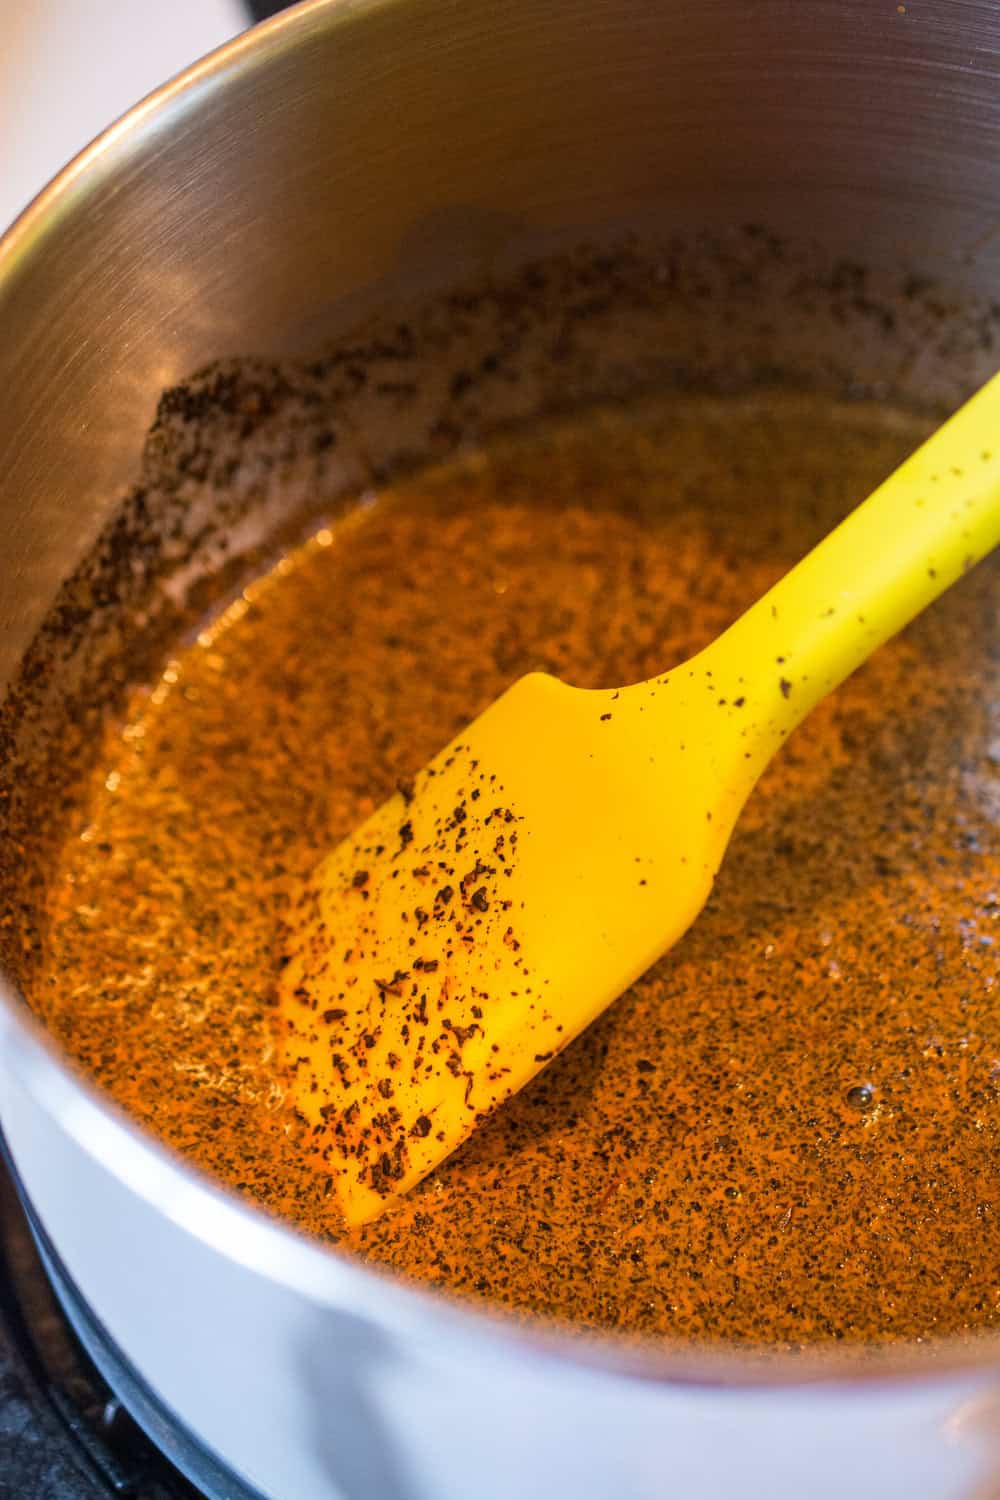
Start by heating up 1 ½ cups (one 12oz can) of evaporated milk in a saucepan or pot over very low heat. Stir in ½ a cup of Thai Tea mix.
Make sure the mixture does not boil. Heat it just until you see a bit of steam rising from the surface, then turn off the heat. Allow the tea to steep for 30 minutes.
After the tea has steeped, strain the tea mixture into a large bowl. Use the back of a spoon to press as much liquid as possible out of the pulp.
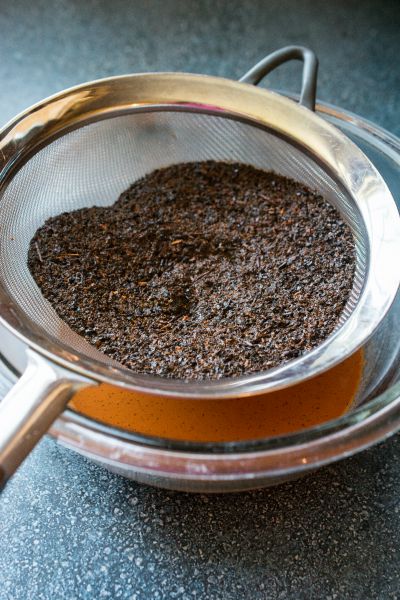
Give the pot a rinse to wash out any tea mix remnants, then pour the milk tea mixture from the bowl back into the pot.
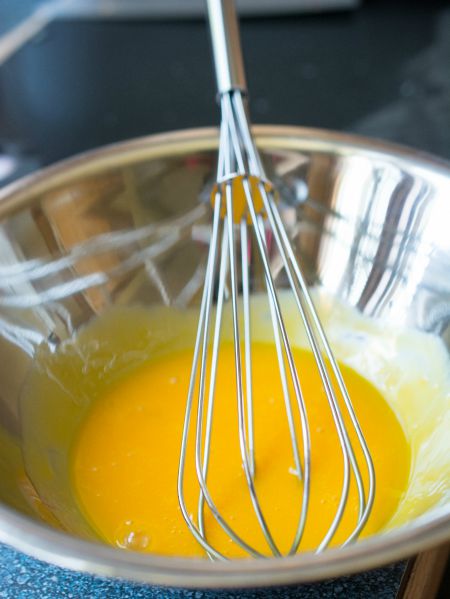
In a separate bowl, gently whisk 3 egg yolks and set aside.
Place the tea mixture back on the stove over very low heat, then stir in 1 cup of sweetened condensed milk and 1 ½ cups heavy cream. Again, we’re not boiling this liquid. Turn off the heat just as soon as you see some steam rising from the liquid.
Now we’re going to temper the eggs. Why temper the eggs?
Would you like to save this?
The liquid is hot enough to cook the eggs, so if you simply pour the egg yolks directly into the pot, you'll end up with egg-drop soup. The eggs will curdle. Not good!
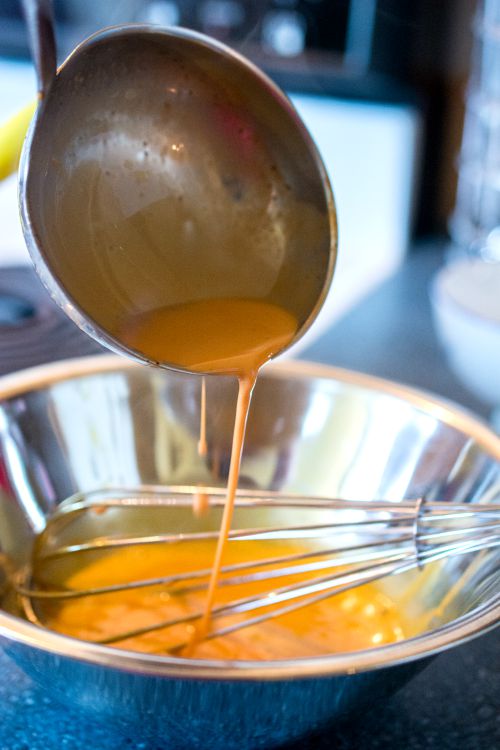
Instead, you'll gradually add the hot liquid into the egg yolks to slowly increase the temperature of the egg yolks so that they blend in with the rest of the mixture.
Don't worry; it may sound intimidating, but it's really not.
Place your bowl of egg yolks right beside the pot on your stove-top. You'll need a whisk and a ladle for this task.
While whisking the egg yolks, use the ladle to scoop the tea mixture, then slowly pour it into the egg yolks. Repeat 1 - 2 more times, then pour the egg mixture into the pot with the rest of the tea.
Turn the heat back on to low, then stir constantly with a spatula or wooden spoon until the mixture thickens. This should take about 3 - 5 minutes. You'll know it's ready when you can coat the back of a spoon.
Let it cool completely before putting it into an ice cream maker.
I use the KitchenAid Ice Cream Maker Attachment, but you can use any ice cream maker.
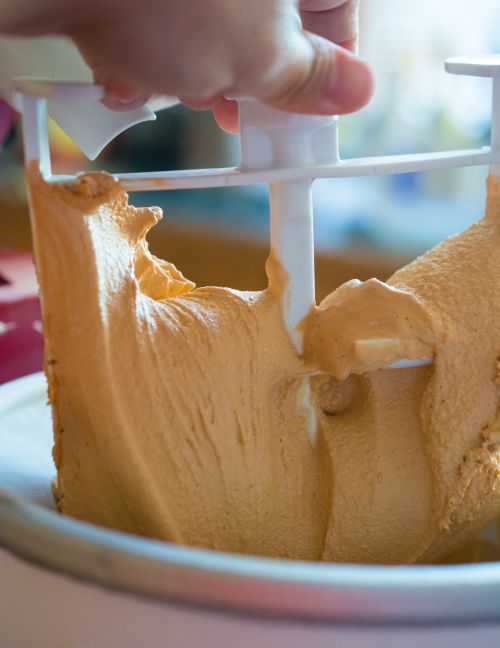
Let your ice cream maker do its magic until it reaches a soft-serve consistency, then transfer to a freezer-safe container and let it set in the freezer for about 6 hours before serving.
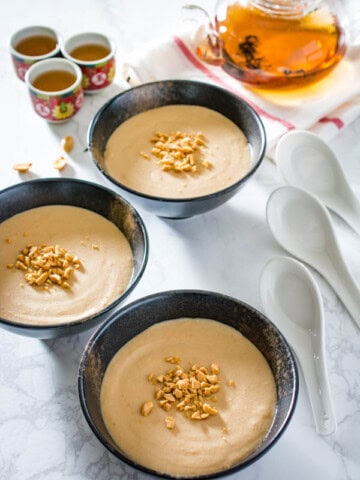
This ice cream pairs really well with a sprinkle of crushed peanuts, or a drizzle of condensed milk if you’re feeling fancy.
Enjoy!! 😀
Frequently Asked Questions
This is most likely because the custard base wasn't completely cooled before churning. Make sure to let it cool fully. Popping it in the fridge for a couple of hours before churning can help!
Simply let it sit at room temperature for 5-10 minutes before serving and it will soften right up!
Stored in an airtight container, this ice cream should keep for about 3 months. That said, homemade ice cream is best enjoyed within the first 4 weeks for the freshest flavor and creamiest texture. Beyond that timeframe, ice crystals may start to form which will affect the quality.
Evaporated milk is recommended for this recipe because it has a higher concentration of milk solids, which gives the ice cream a richer, creamier texture. If you don't have evaporated milk on hand, you can substitute it with an equal amount of heavy cream instead.

Homemade Thai Tea Ice Cream
Ingredients
- 1 ½ cups evaporated milk one 12oz can
- ½ cup Thai Tea Mix
- 1 cup sweetened condensed milk about ¾ of a 14oz can
- 1 ½ cups heavy cream
- 3 egg yolks
Instructions
- Heat evaporated milk in a saucepan over very low heat. Stir in Thai tea mix. Heat just until you see steam rising from the surface; do not boil. Turn off heat and steep for 30 minutes.
- Strain tea mixture into a large bowl, pressing as much liquid as possible from the pulp. Rinse the pot and pour the mixture back in.
- In a separate bowl, gently whisk egg yolks and set aside.
- Return the pot to very low heat. Stir in condensed milk and heavy cream. Heat just until steaming; do not boil. Turn off heat.
- Temper the eggs by slowly ladling the hot mixture into the egg yolks while whisking constantly. Repeat 1-2 times, then pour egg mixture back into the pot.
- Return to low heat, stirring constantly until mixture thickens and coats the back of a spoon, about 3-5 minutes.
- Let the mixture cool completely before churning in your ice cream maker according to manufacturer's instructions.
- Transfer to a freezer-safe container and freeze for at least 6 hours before serving.
Regina says
Yay...so happy to hear you made it to Penang. We've been in Chiang Mai for just over a months, slowly settling in there. Would still love to meet up whenever we may make it down 🙂
Char says
Hooray!!! Keep me posted, Regina! 🙂
Kevin says
I've been craving Ice Cream for the last few days..... I'm going to HAVE to make some now. I just don't have a mixer so I have to hand mix it and it takes for-ev-er hehe.
Char says
haha all the best, Kevin! Let me know how it turns out! 🙂
Sara says
Hi there, I found your blog through the FBC Yum & Stumble Sunday. I am pinning and sharing this post, love the idea and it looks so yummy!
Char says
Hi Sara! Thanks so much for taking the time to stop by to leave a comment and for sharing! Much appreciated!! 😀
pumice says
Hi! thank you for the recipe 🙂 it looks so good!
I don't have ice cream maker, can I do the last step with mixer instead?
Char says
Hi pumice! Thanks for the comment! Yes, you can use just your mixer. If you are doing that, skip the egg yolks. As soon as you have made the tea, put it in the fridge to let it cool completly. Make sure your whipping cream is chilled as well. Whip all of the whipping cream using your mixer, then slowly add the tea into the whipped cream mixture. Then, freeze it. Hope that helps!
pumice says
Hi! thank you for the tips ^^ I'll try it!
Char says
You're very welcome! 🙂
Maggie says
Is it possible to switch out the condensed milk for thick canned coconut milk instead? Looks amazing by the way!
Char says
Hi Maggie! Thanks for stopping by my blog! The condensed milk is the source of sweetness in this ice cream so if you are removing it, you would need to add sugar. Instead of coconut milk, I would recommend creme of coconut as it is sweet. Otherwise, I would recommend just using simple syrup (dissolve 1/2 cup sugar in 1/2 cup boiling water, then let cool). I haven't tried coconut in Thai Iced Tea before. I bet that would be a neat flavor!
Florian @ContentednessCooking says
Looks like an amazing combination for summer!
Char says
Thank you, Florian! 🙂
Adeline says
Hi! I made this today but found it too sweet. If i reduced the amount of condensed milk, should I add more egg yolks as the thickening agent? Thanks in advance.
Char says
Hi Adeline! Thanks so much for giving this recipe a try! 🙂 You can certainly reduce the amount of condensed milk and increase the amount of heavy cream or even whole milk to make it less sweet. Yes, adding 1 or 2 more egg yolks is a great idea to maintain the thick texture. Cheers!
Natasha says
This is one of my favourite flavours of ice cream. I tried out your recipe and loved it! It's so smooth and creamy. I did find it a bit too sweet but then I had some with an ice-cream cone which cut the sweetness. Thanks for sharing your recipe!
Char says
Hi Natasha! Thanks for giving this recipe a try! I'm glad you liked it. What a great idea to cut a bit of the sweetness with an ice-cream cone! 🙂 Cheers!